Published · Updated
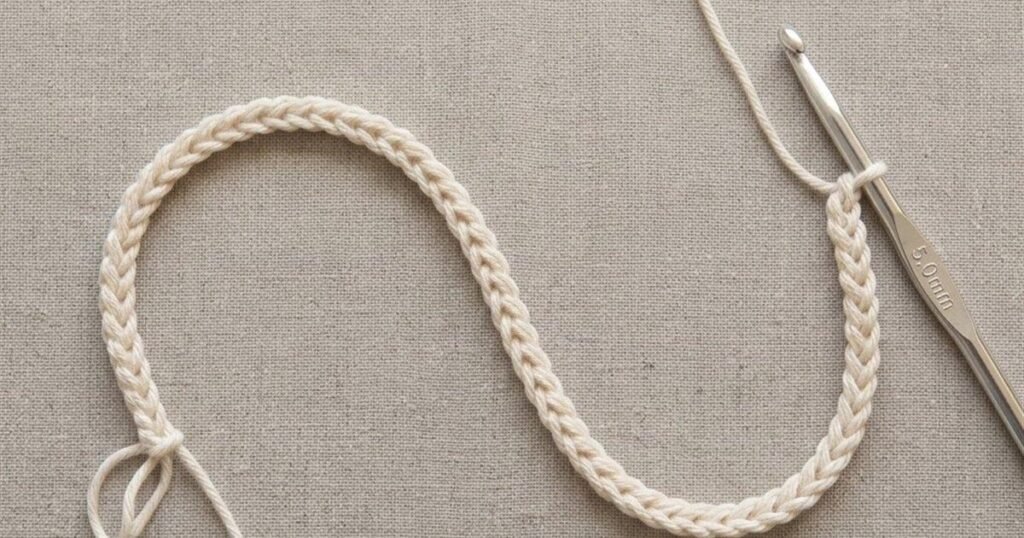
The chain stitch (abbreviated ch) is the foundation of almost every crochet pattern. It forms the starting row, the turning chains that lift you to the next row, and the open spaces in lace. Even chains come from steady tension more than from speed, so this guide focuses on rhythm, counting, and fixing uneven results.
What You Need
- A 5 mm (US H-8) crochet hook.
- Smooth worsted-weight yarn in a light color, so each chain is easy to see and count.
- A slip knot on your hook. If you need it, see our guide to making a slip knot.
How to Hold the Hook and Yarn
Hold the hook the way that feels natural to you. Many people hold it like a pencil, and others hold it like a knife with the palm over the hook. With your other hand, pinch the slip knot just below the hook. Let the working yarn run over your index finger, and, if you want more tension control, wrap it once around your little finger. There is no single correct grip. The goal is for the yarn to glide through your fingers at an even, gentle pace.
Step by Step
- Wrap the working yarn over the hook from back to front, so the yarn sits in the notch behind the hook head. This move is called a yarn over (yo).
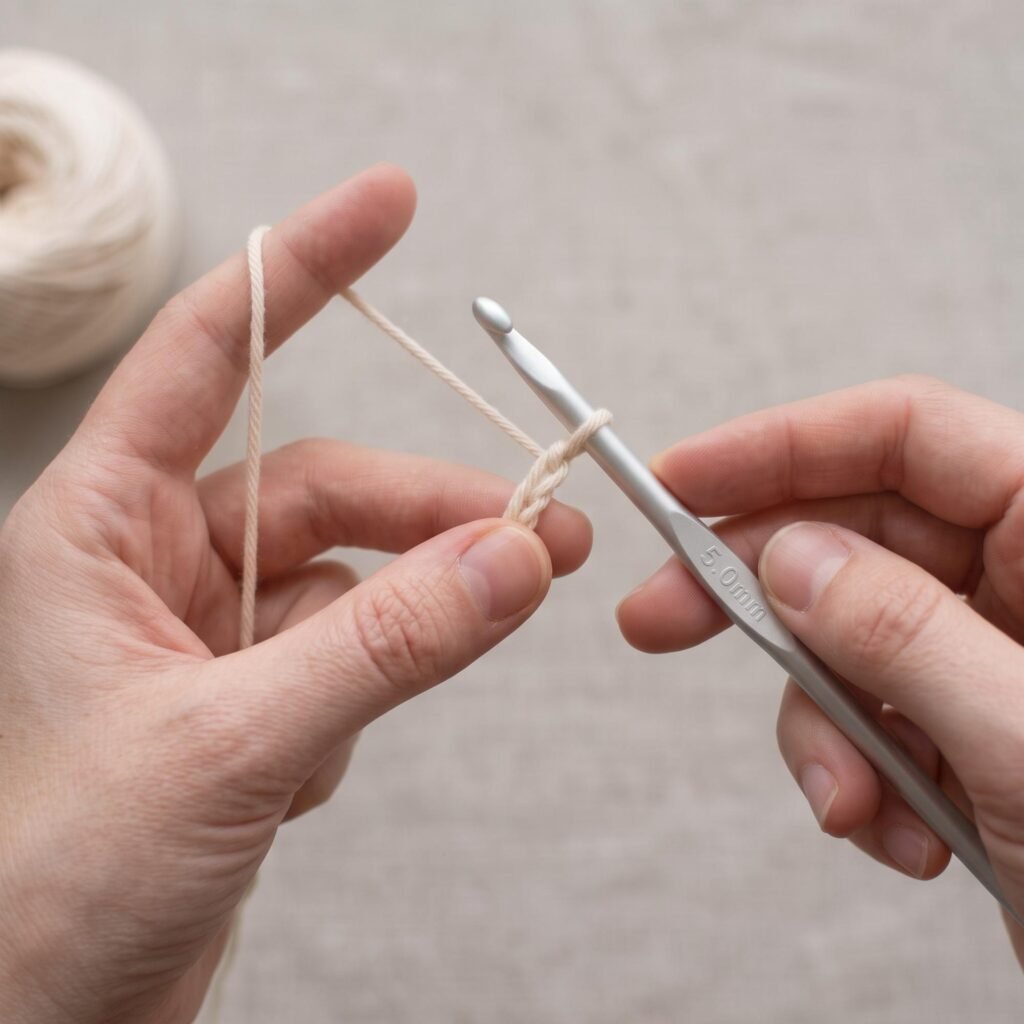
Step 1: yarn over, back to front. - Turn the hook slightly downward and pull the yarn through the loop that was already on your hook. You have made one chain stitch, and one loop remains on the hook.
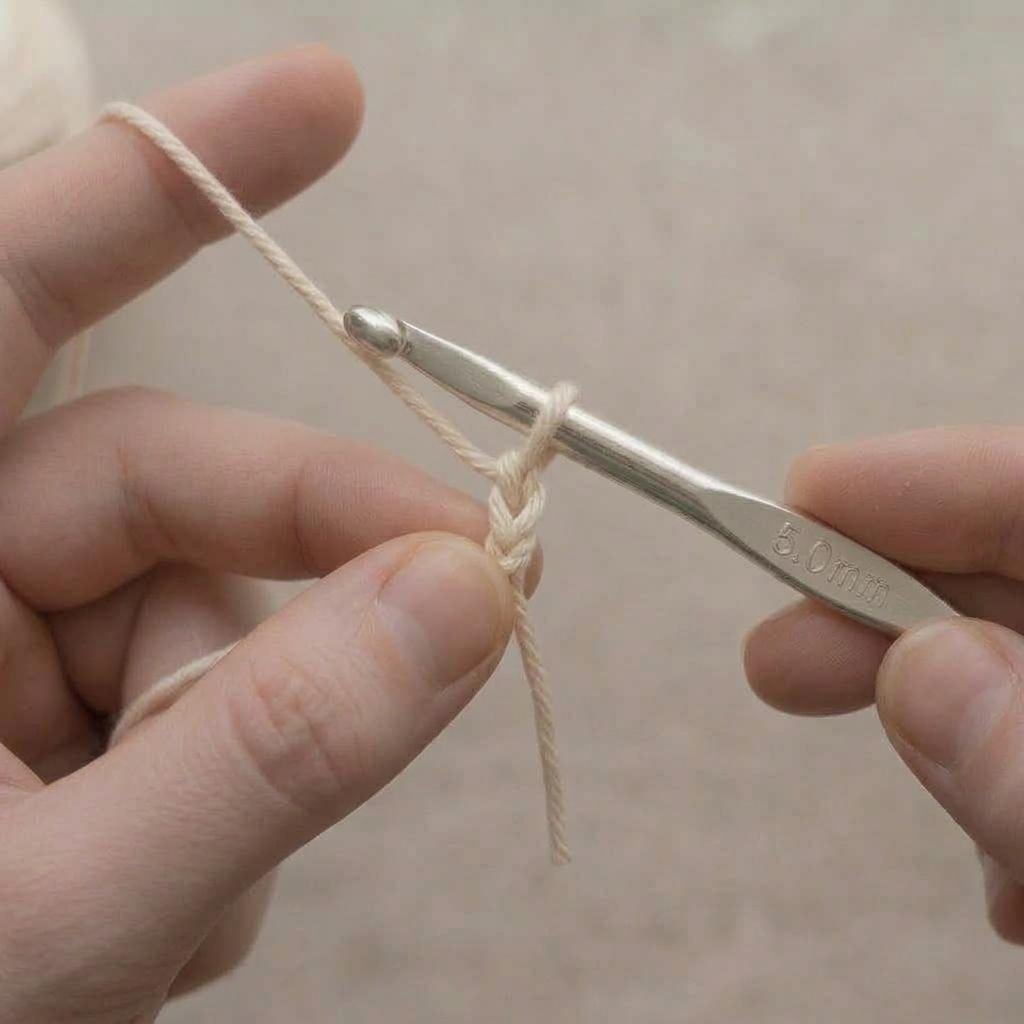
Step 2: pull the yarn through the loop. - Slide the fingers of your other hand up so you are pinching the chain you just made, right below the hook. Moving your grip up with the work keeps the stitches even.
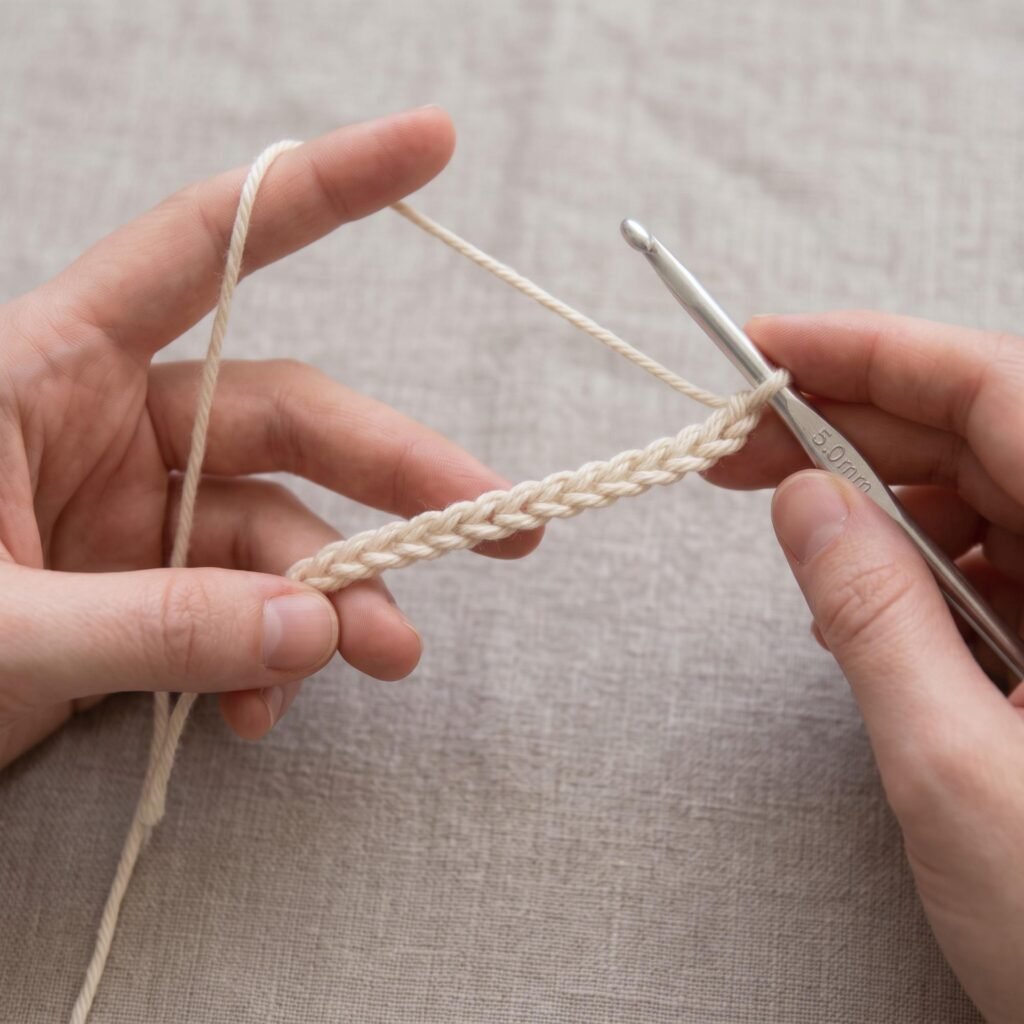
Step 3: pinch the chain just below the hook. - Yarn over and pull through again to make the next chain. Repeat until you have the number of chains your pattern asks for.
- Count as you go. The loop on your hook does not count, and neither does the slip knot. Count each small V shape on the front of the chain.
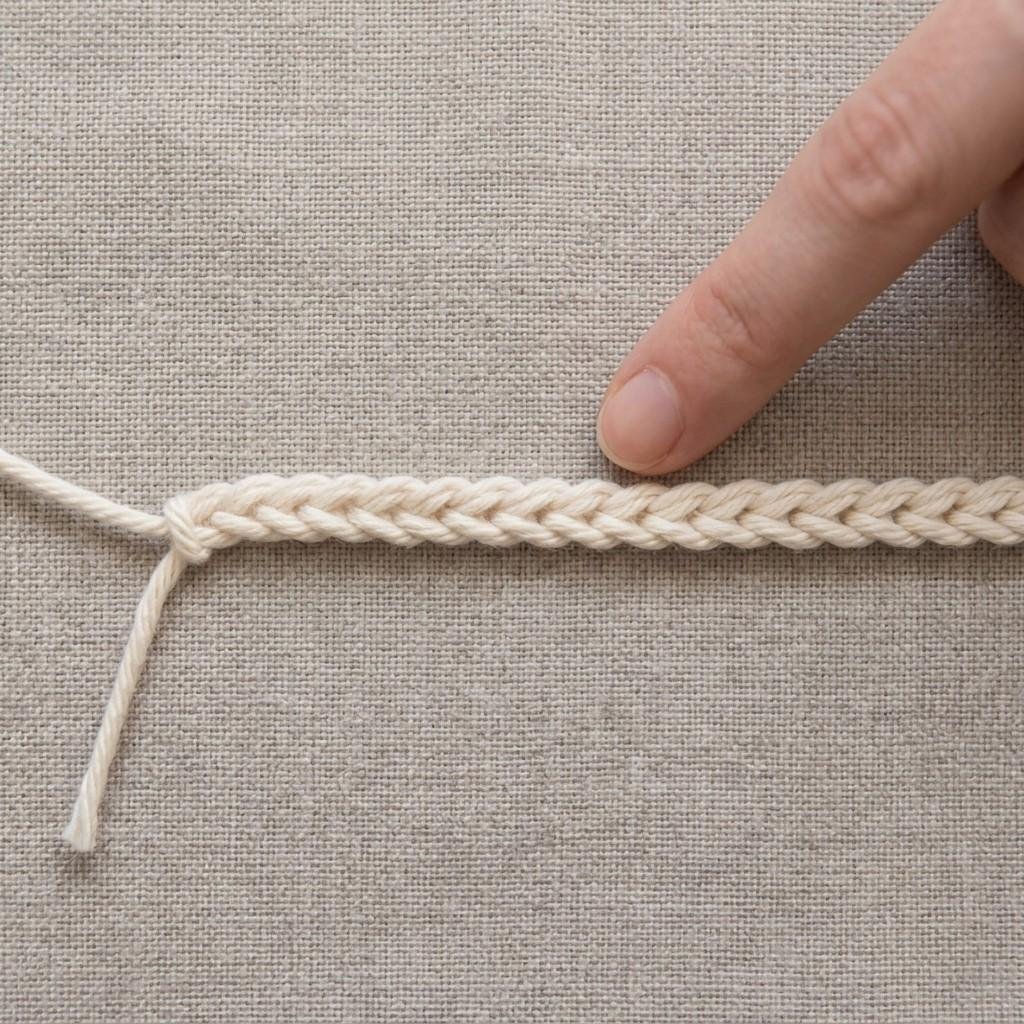
Step 5: count each V shape. - Turn the chain over and look at the back. You will see a row of small bumps. Your first row of stitches will be worked into these bumps or into the top of the V, depending on the pattern.
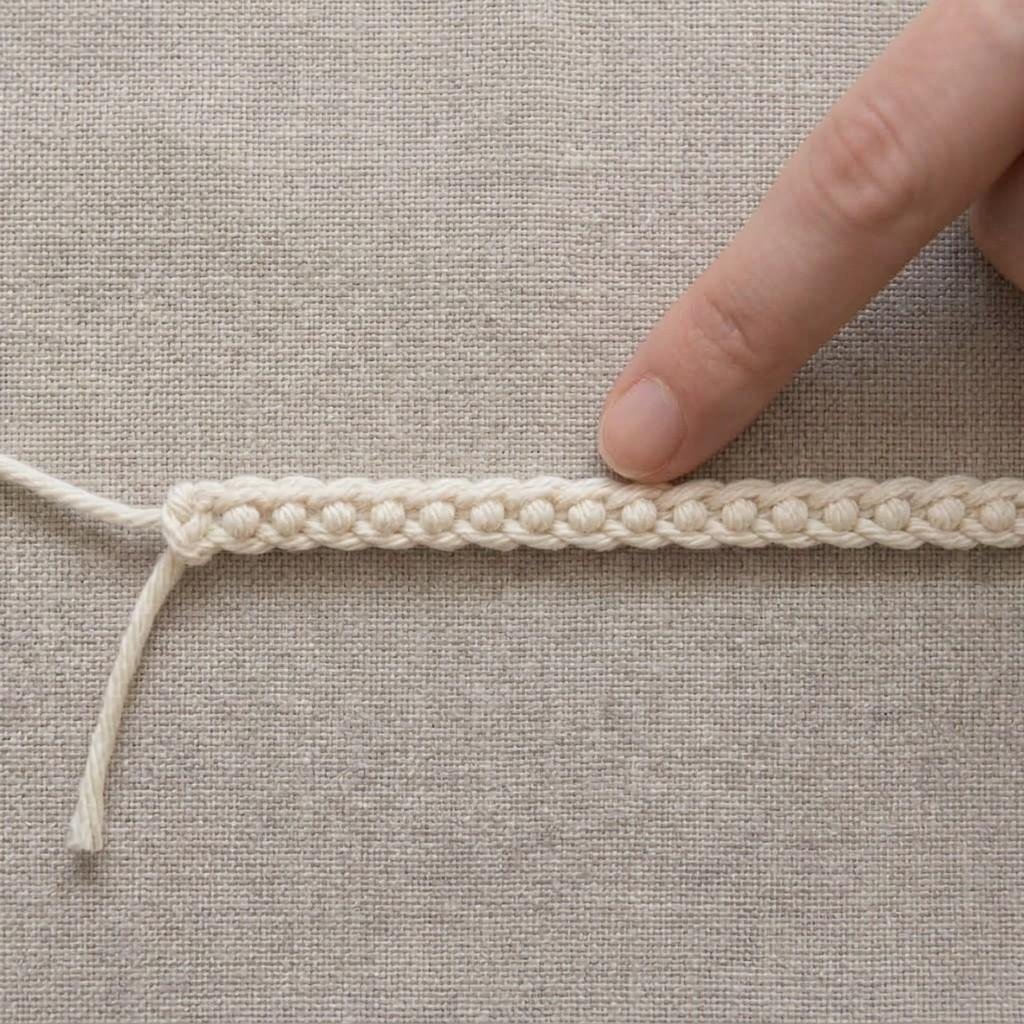
Step 6: the back of the chain, one bump per stitch.
Keep the chain untwisted. If the chain spirals around itself, the first row will twist too, and it will be hard to see where to put your hook.
Counting Chains Correctly
Counting mistakes are a common reason a first row does not match a pattern. Lay the chain flat, start at the stitch closest to the hook, and touch each V as you count. Stop at the last V before the slip knot; do not count the slip knot itself. If you lose track, place a removable stitch marker or a short piece of scrap yarn every ten chains. Patterns often ask you to work into the second chain from the hook, which means you skip the chain closest to the hook and insert the hook into the next one.
Common Mistakes and How to Fix Them
- The chains are too tight. Tight chains are a common beginner problem, because the first row becomes very hard to work into. Relax your grip on the yarn and the hook. You can also use a hook one size larger for the foundation chain only, then switch back for the rest of the work.
- The chains are too loose or sloppy. Keep the loop on your hook close to the size of the hook shaft. If it grows as you pull through, gently tug the working yarn as you finish each chain.
- The chains are different sizes. This usually means your tension changes as the yarn slips through your fingers. Hold the yarn the same way for every stitch, and slow down until the movement feels steady.
- You lost count. Count again from the hook toward the slip knot, and use a marker every ten chains next time.
- The chain twists. Keep the chain lying flat in front of you, and avoid rotating the hook as you pull the yarn through.
Tips for Left-Handers
Hold the hook in your left hand, and use your right hand to pinch the chain and control the yarn. The movements are the same as for right-handers, but mirrored. When a pattern says to work into the second chain from the hook, that still means counting from the hook, no matter which hand is holding it. If you are following a right-handed video, try watching it in a mirror, or look for a left-handed tutorial.
Practice Exercise
Make a slip knot, chain 30, and count your chains. Then pull out the hook, unravel the chain, and do it again. Do this three or four times. You are looking for two things: chains that look about the same size, and a count that comes out right the first time. This small exercise does more for your later projects than trying to work faster.
Frequently Asked Questions
Does the slip knot count as a chain?
No. The slip knot is only the loop that holds the yarn on your hook. The first chain is the first one you pull through it.
Why do patterns ask for extra chains at the start of a row?
Those are turning chains. They lift the yarn to the height of the stitches in the next row. Single crochet typically uses one turning chain, while taller stitches use more, so always check your pattern.
Which side of the chain is the front?
The front shows a row of small V shapes. The back shows a line of bumps.
Do I have to start with a slip knot?
Most flat projects start this way, because it is simple and reliable. Projects worked in the round often begin with a magic ring instead.
What to Learn Next
Once your chains are even, move on to single crochet, which you will work into a foundation chain just like the one you practiced here.
The beginner series
- 1. Slip Knot
- 2. Chain Stitch (this page)
- 3. Single Crochet
- 4. Magic Ring
- 5. Half Double Crochet
Step images in this tutorial were created with AI to show each stitch.