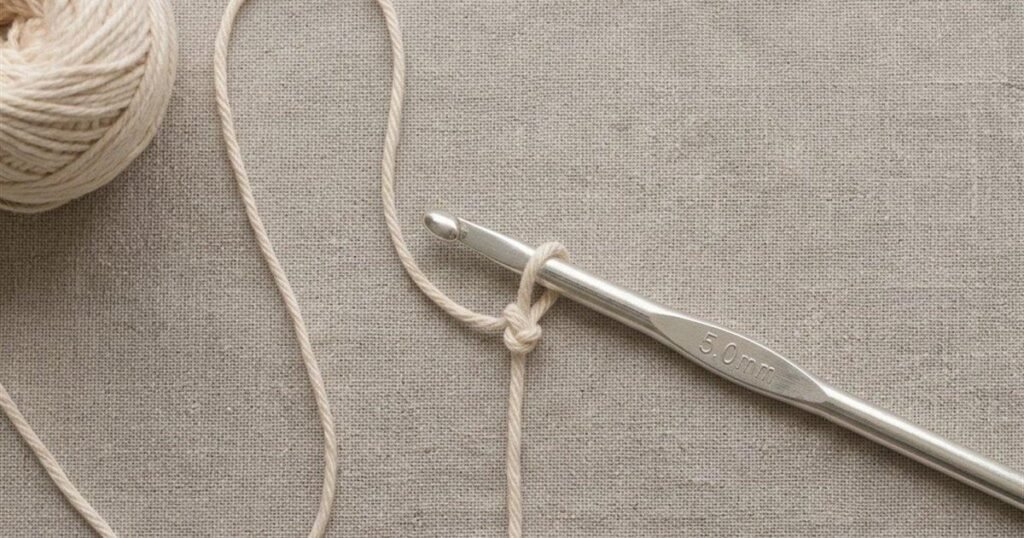
Published · Updated
Every crochet project starts with a single loop on your hook, and that loop is a slip knot. Once you can make one without thinking, you can begin any pattern in a few seconds. This guide shows one clear way to make it, how to check that it is right, and how to fix the problems beginners run into most often.
What You Need
- A crochet hook. A 5 mm (US H-8) hook is comfortable for learning because the loops are easy to see and hold.
- Smooth worsted-weight yarn in a light color. Smooth yarn shows you what each strand is doing; dark or fuzzy yarn hides the loops and makes the first tries harder than they need to be.
- Scissors, for trimming the tail when a project is finished.
Two Words to Know
The tail is the short free end of the yarn. The working yarn is the strand that runs back to the ball or skein. Many crochet instructions refer to one of these two, so it helps to be able to tell them apart at a glance.
Step by Step
- Pull about 6 inches (15 cm) of yarn free from the skein. This is your tail. The strand that continues back to the ball is the working yarn.
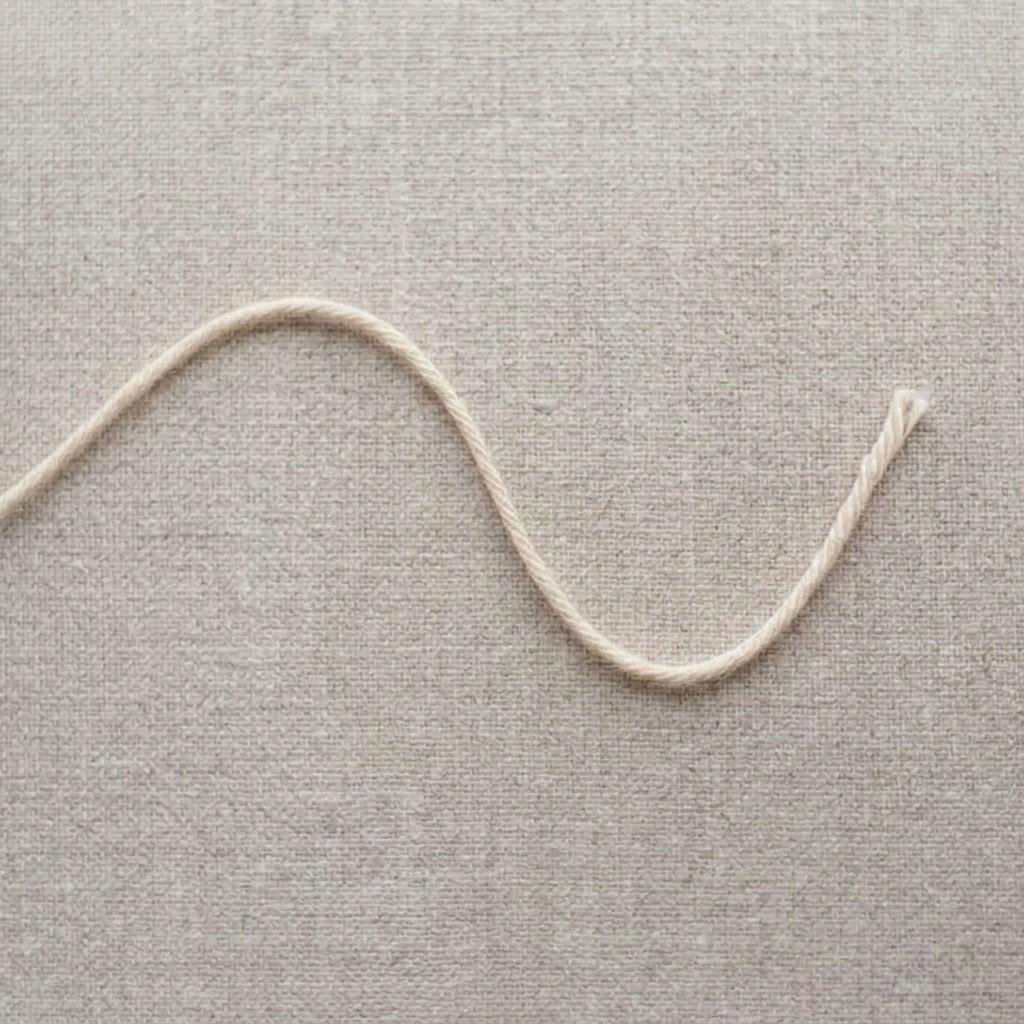
Step 1: the tail and the working yarn. - Lay the tail across the working yarn so the two strands cross, forming a loop like the start of a pretzel. Pinch the crossing point between your thumb and index finger so it does not come apart.
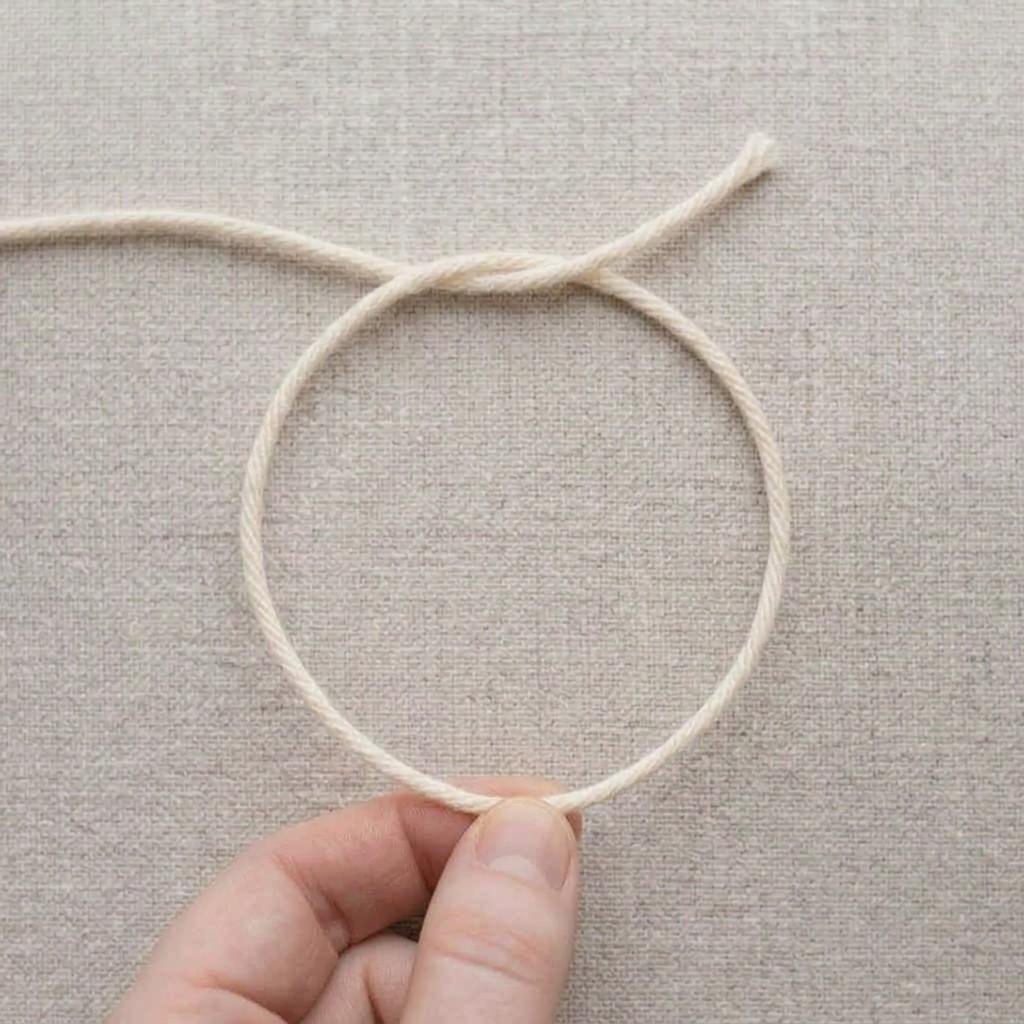
Step 2: the tail crosses the working yarn to form a loop. - Put your hook through the middle of the loop.
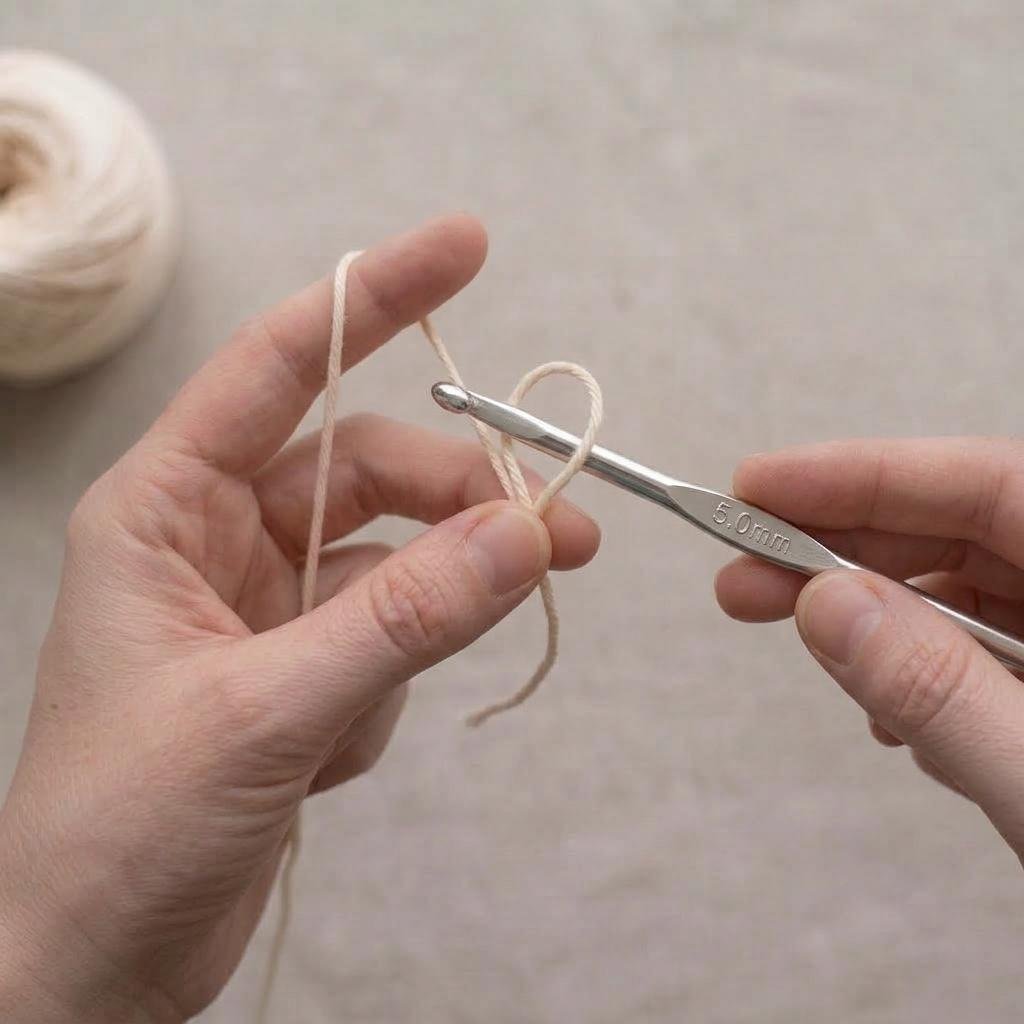
Step 3: the hook goes through the loop. - Catch the working yarn with the hook. Make sure it is the strand that runs to the ball, not the tail, and pull it back through the loop. You now have a new loop on your hook.
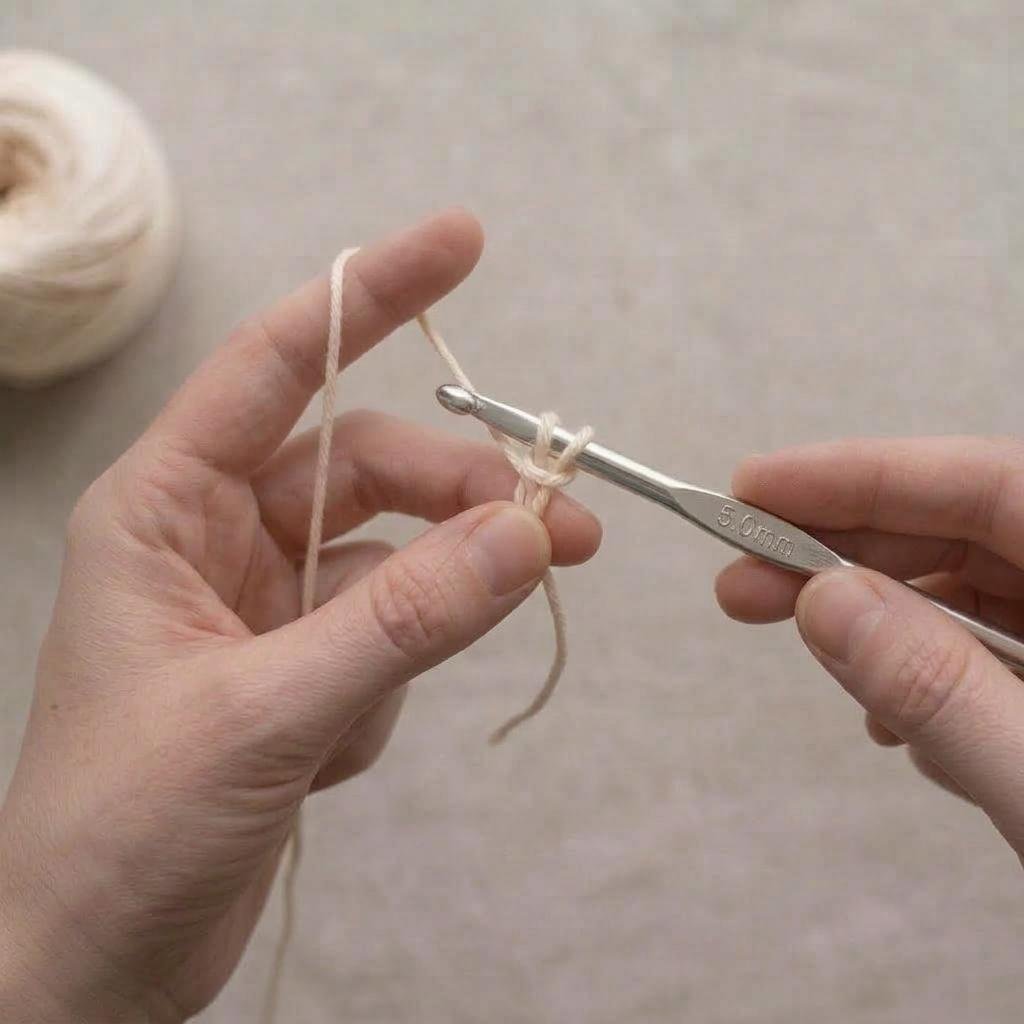
Step 4: pull the working yarn through. - Hold the hook and gently pull the tail so the knot snugs up against the base of the loop on your hook.
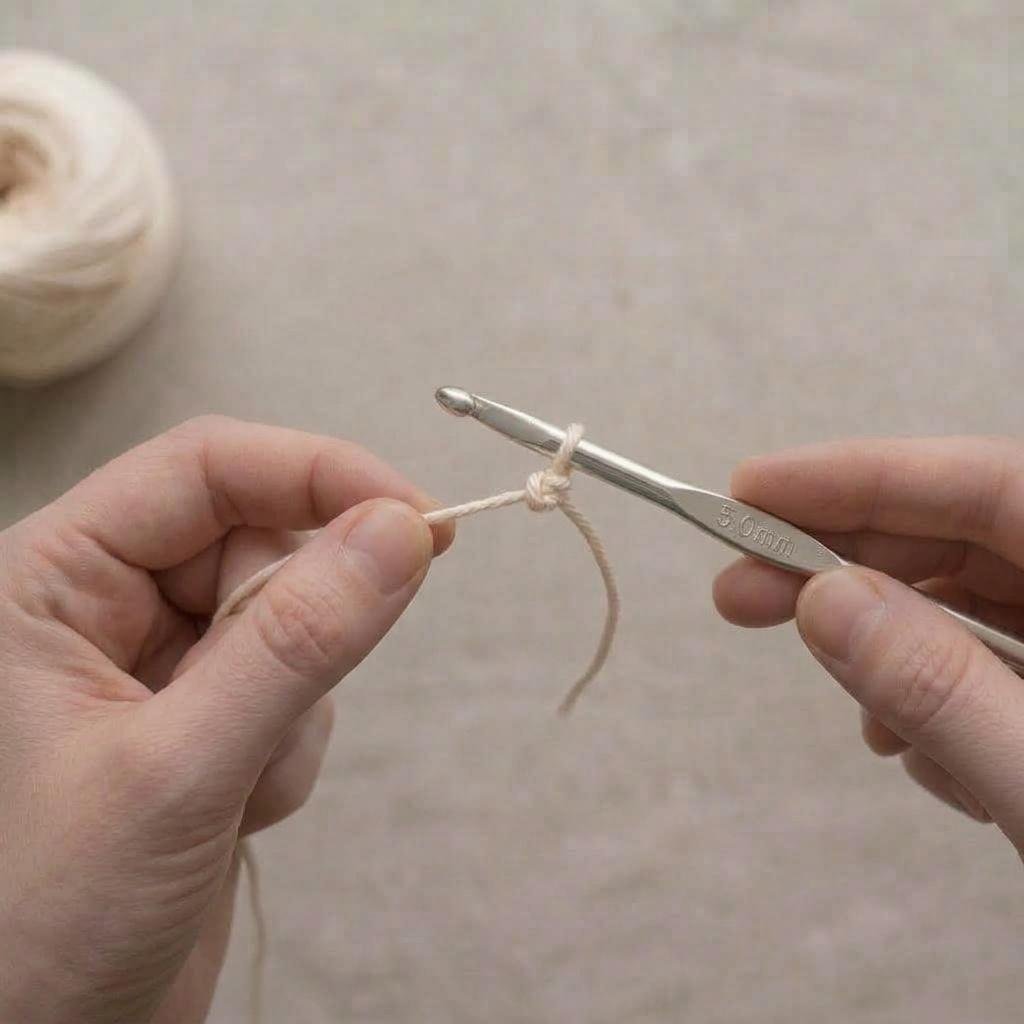
Step 5: snug the knot with the tail. - Pull the working yarn to make the loop smaller, or ease the loop open with your fingers to make it larger. The loop should sit comfortably on the hook shaft and still slide along it.
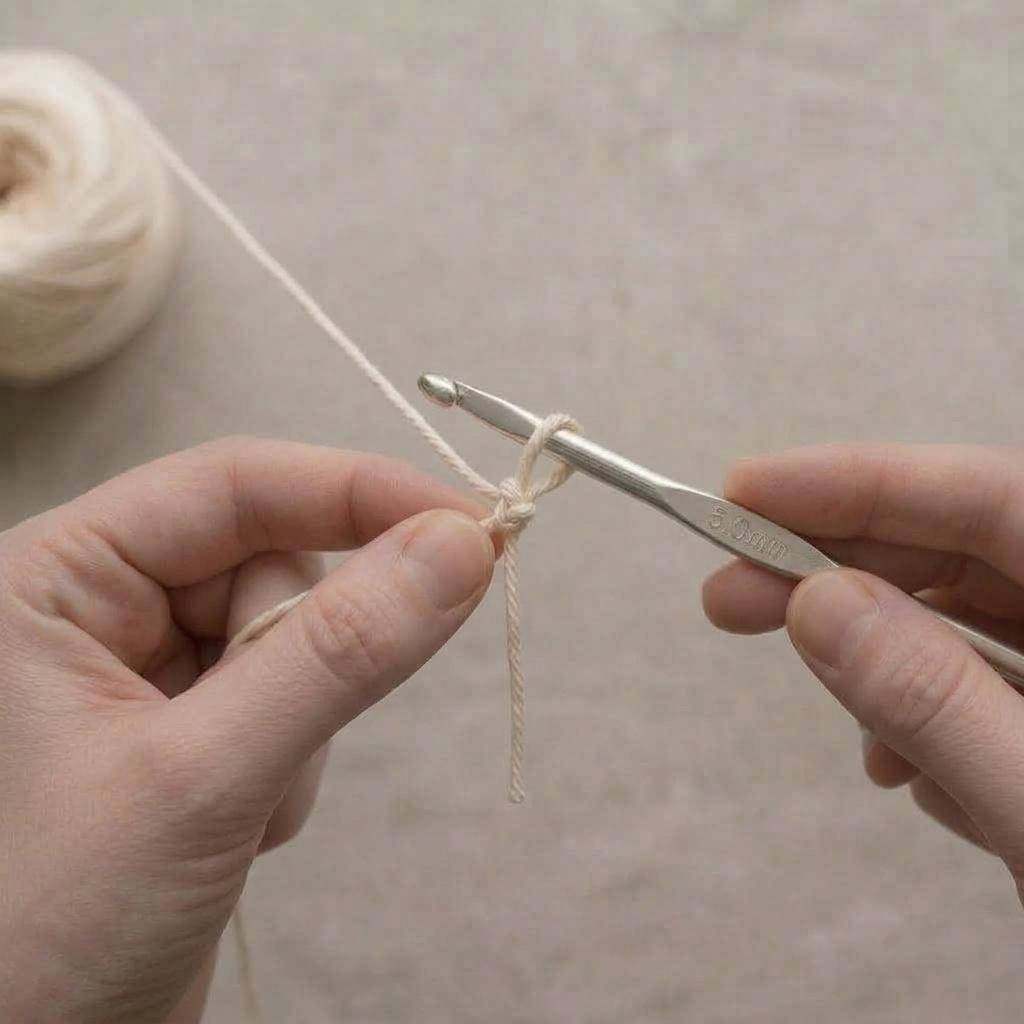
Step 6: the finished loop on the hook.
Quick check: pull the working yarn. If the loop gets smaller, you made a real slip knot. If the knot locks and the loop stays the same size, you pulled the tail through instead of the working yarn, so undo it and repeat steps 4 and 5.
Why the Size of the Loop Matters
The slip knot is the anchor for your very first chain stitch, so its size affects everything that follows. A loop that is much tighter than the hook makes the first few chains hard to work, and you may find yourself fighting the yarn just to get started. A loop that is far too loose can slip off the hook as you work, and then you have to start over. Aim for a loop that hugs the hook shaft without gripping it. You should be able to slide the loop up and down the shaft with a light touch.
Common Mistakes and How to Fix Them
- The loop will not get bigger or smaller. You most likely pulled the tail through the loop. Undo the knot and try again, this time catching the strand that goes back to the ball.
- The knot is so tight the hook will not move. Pull gently on the working yarn to open the loop a little, then slide the hook until it moves freely. A loop that squeezes the hook makes your first chain stitches very hard to work.
- The tail keeps pulling out. Start with a longer tail, about 6 inches, and snug the knot against the hook before you make your first chain. You can also hold the tail with your fingers for the first few stitches.
- The loop is too loose and flops around. Pull the working yarn until the loop sits closer to the size of the hook, but not so close that it grips.
- The yarn splits when you pull it through. Switch to a smoother, tighter-twisted yarn while you practice. Loosely plied yarn splits easily on the hook tip.
Tips for Left-Handers
Nothing about the knot changes; you simply mirror everything. Hold the hook in your left hand and let your right hand hold the yarn and the crossing point. Wherever these instructions say to use your thumb and index finger to pinch the loop, use the ones on your right hand instead. If most of the videos you find are right-handed, play one in a mirror or flip the video, and copy what you see. Some left-handed crocheters prefer to learn the right-handed way instead. Both approaches are fine, as long as you choose one and stay with it.
Practice Tips
- Make ten slip knots in a row, undo each one, and repeat. Somewhere around the fourth or fifth, your hands will start to find the rhythm.
- Do not count the slip knot when you count chains. It is only the loop that holds your yarn on the hook.
- Keep your first loop about the size of your hook, so your first chain stitches do not come out tight.
- Practice with the same yarn and hook you plan to use for your project, because the knot behaves a little differently with each combination.
Frequently Asked Questions
Is a slip knot the same as a regular knot?
No. A slip knot slides along the yarn and can be undone with a single pull, so it does not leave a hard knot at the start of your work.
Does the slip knot stay in my finished project?
Yes. It remains at the base of your first chain, and you weave the tail into your work when you finish.
Which hook size should I use?
Any size will work. Choose the hook that goes with your yarn, and check the label on the yarn for a suggested size.
Do I always need a slip knot?
Most projects that begin with a chain do. Projects worked in the round often begin with a magic ring instead, which does not use a slip knot.
What to Learn Next
With a loop on your hook, the next skill is the chain stitch. After that, try single crochet.
The beginner series
- 1. Slip Knot (this page)
- 2. Chain Stitch
- 3. Single Crochet
- 4. Magic Ring
- 5. Half Double Crochet
Step images in this tutorial were created with AI to show each stitch.